


Softaculous installs popular web applications in a few clicks. This guide walks you through setting up Concrete CMS with it.
1. Sign in to your cPanel account.
2. Open the Software section and click Softaculous Apps Installer.
3. cPanel opens the Softaculous interface.
4. In the menu on the left, expand the Portal/CMS category and pick Concrete CMS from the list that appears.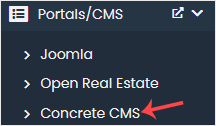
5. Click Install.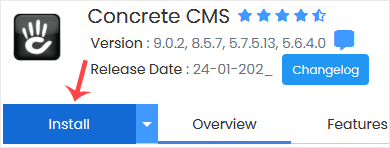
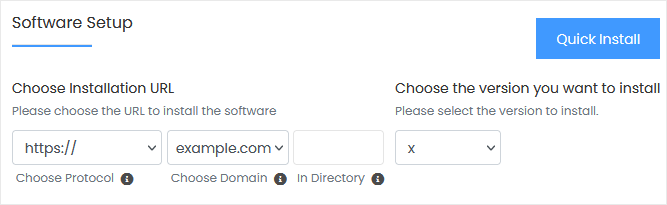
6. In the Software Setup block, complete these fields:
- Choose Installation URL: select the protocol and domain. To install into a subfolder such as example.com/directory, type the folder name in the In Directory field. To use the main domain (example.com), leave that field empty.
- Choose the version you want to install: the default value is fine.
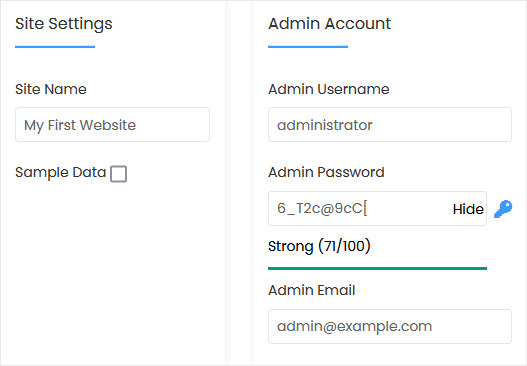
7. In the Site Settings block, fill in:
- Site Name: the name of your website, for example Concrete CMS.
- Sample Data: keep the default.
8. In the Admin Account block, fill in:
- Admin Username: the login for your new Concrete CMS site. For security, avoid names such as administrator or admin.
- Admin Password: choose a strong password.
- Admin Email: your email address.
Note: Save the admin username and password somewhere safe, such as a text file. You need them to sign in to the administration area of your site.
9. Advanced Options: keep the defaults unless you want to rename the database or enable automated backups. Keep in mind that frequent backups can use a lot of disk space. Finally, scroll to the bottom of the page and click Install.